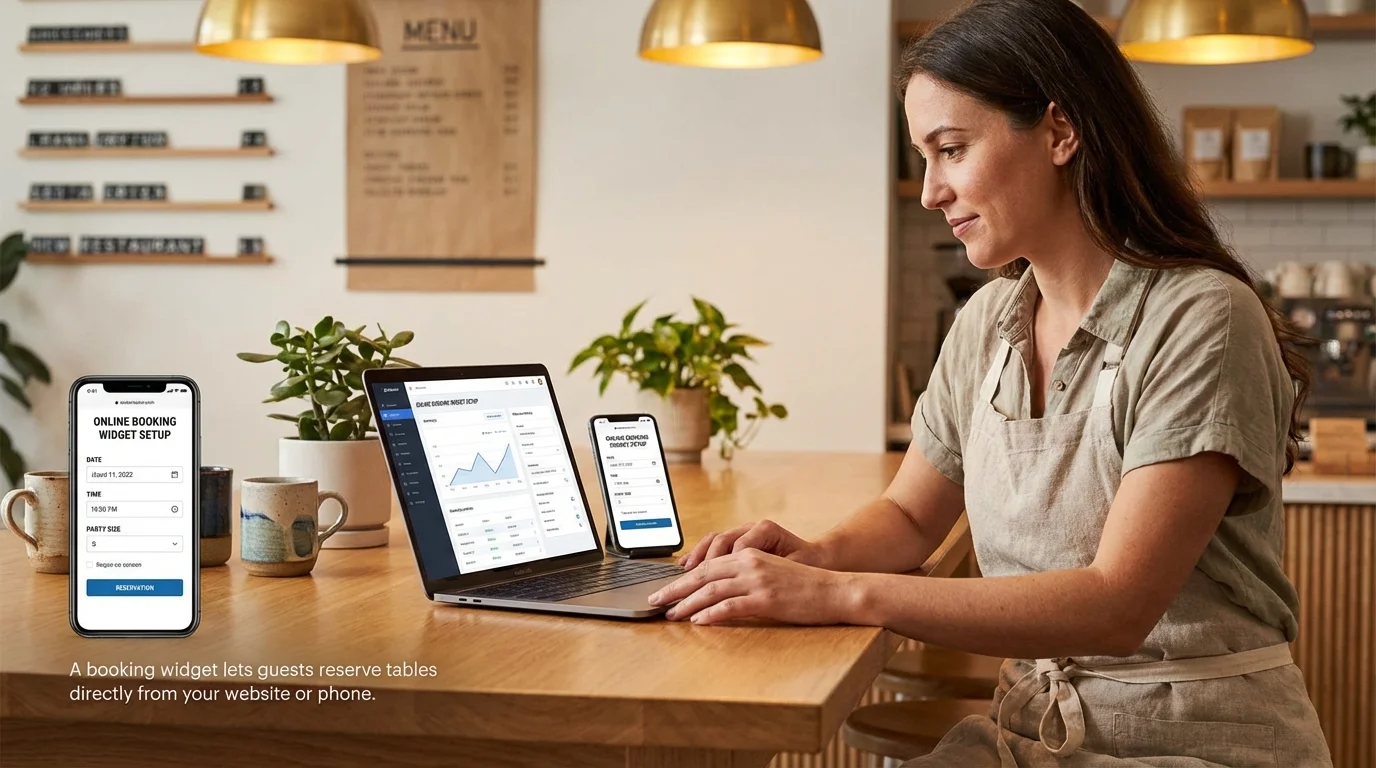
To set up online booking, you need a reservation system with a booking widget you can embed on your website. Most restaurants can go from zero to accepting online reservations in under 3 hours, and the impact is immediate: online booking captures reservations 24/7, even when your phone lines are closed.
Restaurants that accept online reservations see 30 to 50% more bookings than those relying on phone calls alone, according to data from multiple reservation platforms. The reason is simple. Guests want to book when it’s convenient for them, which is often outside your operating hours. If they can’t book online, they book somewhere else.
Key takeaways
- Main solution: Choose a booking system, configure your availability, embed the widget on your website
- Expected result: 30-50% more reservations from capturing after-hours and mobile bookings
- Time to implement: 1-3 hours for basic setup
- Cost: Free to $150/month depending on features and volume
Before you start
Make sure you have the following ready:
- Your floor plan including table count, capacity per table, and any sections (patio, private dining, bar)
- Your service schedule including days open, meal periods, and last seating times
- Website access or someone who can add a code snippet to your site
- A list of booking rules like maximum party size, minimum lead time, and any blackout dates
If you don’t have a website, you can still accept online bookings through Google Business Profile and social media. But a website with an embedded widget gives you the most control.
Step 1: Choose a booking system
Your booking system is the foundation. Pick one that fits your restaurant’s size, budget, and needs.
What to evaluate:
| Factor | What to look for |
|---|---|
| Pricing model | Flat monthly fee vs. per-cover charges. Per-cover fees add up fast for busy restaurants |
| Free tier | Many systems offer free plans for small operations |
| Widget quality | Clean, mobile-friendly, fast loading. Test the demo on your phone |
| Integrations | Google Reserve, POS systems, your website platform |
| Data ownership | Can you export your guest list? Some platforms lock you in |
Common options by budget:
- Free: Several systems offer free tiers with limited bookings per month, suitable for smaller restaurants just starting with online booking
- $25-100/month: Mid-range systems with full features, no per-cover fees, good for most independent restaurants
- $150-700/month: Premium platforms targeting fine dining, enterprise, or high-volume operations
For a detailed breakdown, see how to choose a booking system.
Step 2: Configure your availability
This is where most restaurants rush and then spend weeks fixing problems. Take 30 minutes to get this right.
What to do:
- Enter your floor plan with accurate table counts and capacities
- Set service hours for each meal period (lunch, dinner, brunch)
- Define time slot intervals (15, 30, or 60 minutes)
- Set maximum covers per time slot based on your kitchen’s capacity
- Add buffer time between seatings for table turns
Time slot strategy:
The interval between available booking times affects both guest experience and kitchen flow.
| Interval | Best for | Tradeoff |
|---|---|---|
| 15 min | High-volume, casual | More options for guests, harder for kitchen pacing |
| 30 min | Most restaurants | Good balance of flexibility and control |
| 60 min | Fine dining, prix fixe | Simple, predictable, limits total covers |
Capacity limits matter. Don’t just set total seats as your cap. Consider how many covers your kitchen can handle per 15-minute window. Seating 40 people at once when your kitchen can plate 20 is a recipe for bad reviews.
For deeper guidance on balancing capacity and service quality, see how to plan your restaurant’s seating capacity.
Step 3: Set booking rules
Rules prevent headaches. Set them now rather than dealing with problems later.
What to do:
- Set maximum party size for online booking (typically 6-8, larger groups call)
- Set minimum lead time (how far in advance guests must book)
- Set maximum lead time (how far out guests can book)
- Configure automatic confirmations and reminders
- Define your cancellation policy
Recommended defaults:
| Rule | Recommended setting | Why |
|---|---|---|
| Max party size (online) | 6-8 guests | Larger parties need special handling. See large party bookings |
| Min lead time | 1-2 hours | Prevents last-second bookings you can’t prepare for |
| Max lead time | 30-60 days | Far-out bookings have high no-show rates |
| Auto-confirm | Under 6 guests | Saves staff time, guests get instant confirmation |
| Cancellation window | 2-24 hours | Balance flexibility with planning needs |
Confirmation flow: Set up automatic emails or SMS for:
- Instant confirmation after booking
- Reminder 24 hours before
- Easy one-click cancel or modify link in every message
Automated reminders reduce no-shows by 30 to 50%. See how to reduce no-shows for the full strategy.
Step 4: Add the booking widget to your website
The widget is how guests actually make reservations on your site. Placement and design matter more than most restaurants realize.
What to do:
- Get the embed code from your booking system (usually a script tag or iframe)
- Add it to your homepage, prominently above the fold
- Add a “Reserve a Table” button to your navigation bar
- Test on mobile, tablet, and desktop
- Check loading speed (widget shouldn’t slow your site down)
Placement best practices:
- Homepage: Widget or prominent button above the fold. This is your highest-converting page
- Navigation bar: “Reserve” button visible on every page
- Menu page: Guests decide to book while browsing the menu, give them a button right there
- Contact page: Add the widget alongside your address and phone number
- Mobile: Sticky “Reserve” button that stays visible while scrolling
Technical checklist:
- Widget loads in under 2 seconds
- Works on iOS and Android
- Doesn’t require zoom to tap buttons
- Calendar picker is touch-friendly
- Confirmation page is clear and immediate
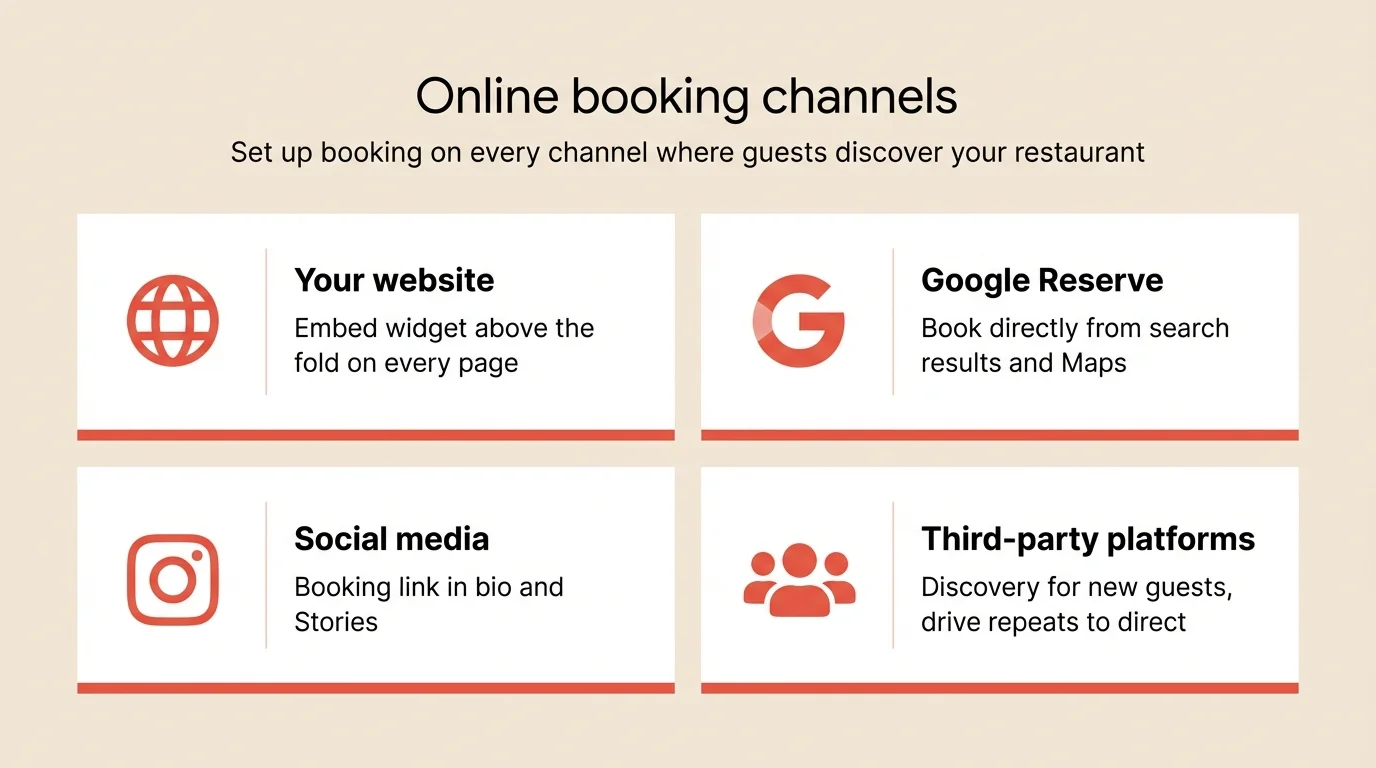
Step 5: Connect additional booking channels
Your website isn’t the only place guests find you. Set up booking across every channel where guests discover your restaurant.
What to do:
- Enable Reserve with Google on your Google Business Profile
- Add booking links to your Instagram and Facebook profiles
- List on relevant third-party platforms for your market
- Set up a booking link for email signatures and marketing
Channel priority:
| Channel | Why it matters | Setup time |
|---|---|---|
| Google Reserve | Guests book directly from search results and Maps | 15-30 min |
| Instagram bio link | Captures social media discovery | 5 min |
| Facebook “Reserve” button | One-click from your business page | 10 min |
| Third-party platforms | Brings discovery from new diners | 30-60 min |
For more on Google integration, see Google Business Profile reservations.
Direct vs. third-party balance: Use third-party platforms for discovery but drive repeat guests to your direct booking channel. Direct bookings give you full guest data and cost less long-term. See direct vs. third-party booking for the detailed comparison.
Step 6: Test everything before going live
Don’t launch until you’ve tested the full guest experience.
What to do:
- Make a test booking on every channel (website, Google, social)
- Check that confirmation emails/SMS arrive promptly
- Verify the booking shows up in your reservation system
- Test canceling and modifying a reservation
- Have someone unfamiliar with your restaurant try to book
Test checklist:
- Booking completes on mobile
- Booking completes on desktop
- Confirmation email arrives within 1 minute
- Booking appears in your management dashboard
- Reminder sends at the right time
- Cancel/modify link works
- Availability updates after a booking (no double-booking)
- Large party size correctly shows “call us” message
Common mistakes to avoid
Asking for too much information
Name, phone, email, date, time, party size. That’s all you need to confirm a booking. Every additional required field (dietary restrictions, occasion, how-did-you-hear-about-us) reduces completed bookings. Collect extras after confirmation or at the restaurant.
Setting availability too loosely
Opening every table for every time slot sounds generous but overwhelms your kitchen. Set realistic caps per time slot based on what your kitchen can handle, not what your dining room can seat.
Forgetting about phone reservations
Online booking doesn’t mean phone booking stops. Train staff to enter phone reservations into the same system so availability stays accurate. Running parallel systems causes double bookings.
Not training your team
Your host and front-of-house staff need to know how the system works. They should be able to check availability, modify bookings, and handle walk-ins within the same tool. Schedule 30 minutes of training before launch.
Launching without testing mobile
Over 60% of restaurant bookings happen on phones. If your widget doesn’t work well on mobile, you’re losing the majority of potential online reservations.
How to measure success
Track these metrics weekly for the first month after launch:
| Metric | Baseline | Target | How to track |
|---|---|---|---|
| Online bookings per week | 0 | 40-60% of total reservations | Booking system dashboard |
| Booking conversion rate | n/a | 30%+ | Widget views to completed bookings |
| Phone reservations | Current volume | -30 to 50% | Staff tracking |
| No-show rate | Current rate | Under 5% | No-shows / total bookings |
| After-hours bookings | 0 | 15-25% of total | Bookings made outside operating hours |
If online bookings account for less than 40% of total reservations after one month, review your widget placement and channel setup.
Tools that help
A modern booking system handles most of this out of the box. Key features to look for:
Booking widget that embeds on your website with real-time availability and mobile-friendly design.
Google Reserve integration that lets guests book directly from search and Maps without visiting your website.
Automated confirmations and reminders via email and SMS to reduce no-shows and keep guests informed.
Floor plan management to set accurate availability based on your actual tables and kitchen capacity.
Guest database that automatically captures contact information from every online booking for future marketing.
Resos includes all of these features starting with a free plan for up to 25 bookings per month, with no per-cover fees on any tier.
Frequently Asked Questions
How much does online booking cost for restaurants?
Do I need a website to accept online reservations?
How long does it take to set up online booking?
Will online booking replace phone reservations?
What information should I collect in an online booking form?
The bottom line
Setting up online booking takes an afternoon and pays for itself within the first week. Start with your booking system and floor plan, get your availability right, embed the widget on your website, and connect your Google profile. Test everything on mobile before going live.
The restaurants that capture the most reservations make booking effortless across every channel. Once your system is running, focus on driving repeat bookings through your guest database. That’s where the real growth comes from.
Related guides: Best free restaurant booking software | Best restaurant booking systems 2026 | How to choose a booking system | How to get more reservations | Walk-ins vs. reservations